Working With Databases in Laravel 8.x

What You Will Learn:
- Creating Databases
- Adding tables to your database
- Adding Data to Table
- Displaying Table Data
Prerequisites:
Have the following installed on the system you use:
XAMPP
Composer
Visual Studio Code(or any code editor with terminal)
Creating a Database
Open your XAMPP and start running Apache and MySQL, then in your browser type localhost/phpmyadmin/ and then click on “database” and then create a database. Simple! For those unfamiliar with XAMPP. The good news is that is all we need to do there.

Adding Tables To Database(Migrations)
At this point go ahead and create a Laravel project if you do not already have one set up. You can do this(provided Composer is installed) by going to your terminal and in the htdocs of your xampp directory run(Note: Your XAMPP directory by default installation is in your Windows i.e. C:/).
composer create-project laravel/laravel projectnameThis will install everything you need to work with Laravel for now. We’re not going to launch our project just yet.
Open up your project folder in a code editor and then in the integrated terminal(for VS CODE that’s Ctrl+`)
Run the command :
php artisan make:controller ControllerName — resourceYes, use PascalCase for the controller name as shown above. What this does is create a controller that will allow you to work in different ways with the database. Also, you created controller would be found in app>Http>Controllers
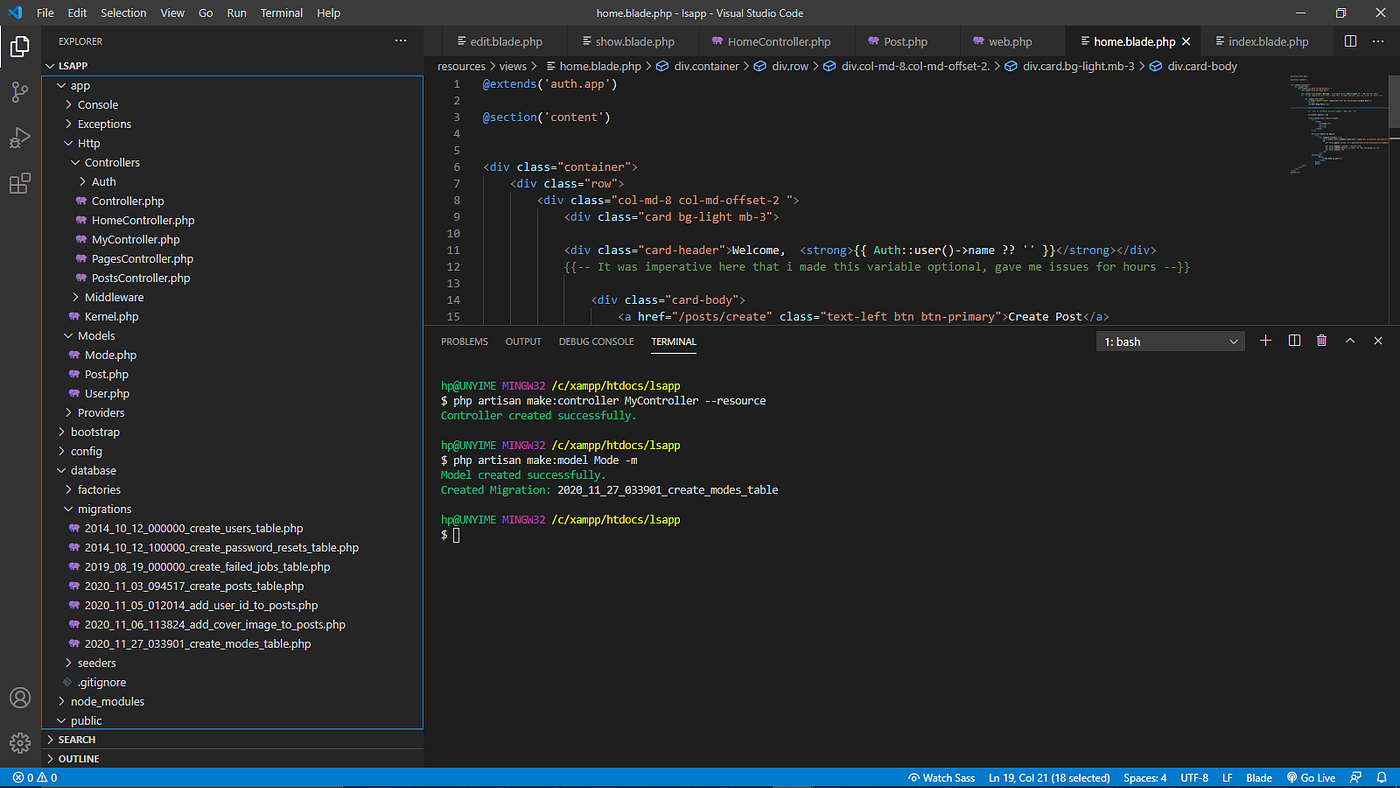
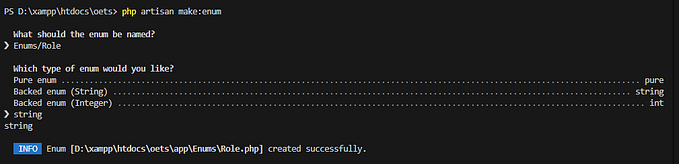
The second command you need to run is:
php artisan make:Model -mYou can replace ‘Model’ for any word of choice e.g. Post, Ticket, Episode etc. What this does is create a Model for use and the -m creates a migration for us in the database>migrations folder. A migration will come in a handy for communicating with your database.
(You can also run the commands I’m about to type in your usual command panel, it just feels better in your editor).
A few more steps…
Open up your migration and add columns you want your table to take in:
Your database would have a name like
2020_11_17_create_model_table(It writes the date and then, in model would be the name of your table)
Add this line of code to your public up-function
public function up(){Schema::create(‘episodes’, function (Blueprint $table) {$table->id();$table->string(‘name’);$table->mediumText(‘body’);$table->timestamps();});}
Explanation:
These are data types id, string and mediumText. There are also other types for email, password etc Check out laravel table column types here.
Then go to your AppServiceProvider.php file in app>Providers and then add this line:
use Illuminate\Support\Facades\Schema;And then in its boot function add this
public function boot(){Schema::defaultStringLength(191);}
This sets the default length for strings.
Final Step:
Locate a .env file open it and edit the following:
DB_DATABASE= yourdatabasenameDB_USERNAME=rootDB_PASSWORD=
If you’re using XAMPP for the first time your username is root and your password is nothing but if you have changed this, add the corresponding values.
Then in your terminal run:
php artisan migrateAdding Data to Table(Tinker)
So usually we need to get data into our table we would usually have to use phpmyadmin or collect form data. Learn how to create forms in Laravel here
However, if you just want to add dummy data to test out your database, Laravel has given us Tinker.
To access this simply run this in your terminal:
php artisan tinkerTo check how many data values you have on in your table run
App\Models\Model::count();Here the ‘Model’ is the model you made earlier using php artisan make:model. This should return a value of data in your table. For this new time. It should be at 0.
Alright, to add data we will create a new instance and link it to a variable, e.g,
$var = new App\Models\Model();{the same model as earlier and use backslashes as shown)
Remember we created table columns called title and body, let’s add data to that, run:
$var->title = ‘Arthur’;$var->body = ‘Arthur is the King Of Camelot’;
To save:
$var->save();Check Your phpmyadmin, and you should see the data in your table.
Fetching Database Data(Eloquent Object Relational Mapper)
For this Laravel uses Eloquent’s Object Relational Mapper which makes it relatively easy to fetch database data.
Firstly to the top of your Controller add this line
use App\Models\Model;Be sure to rename Model to the name of your Model.
Remember the controller we created earlier? Locate the Controller(app>Http>Controllers) and then in its index function assign a variable to your model(remember your model is linked to a migration)
Example $var = Model::all();I suggest a variable you can remember. Then return your page index with your variable. To learn more about this, read up on Laravel Routing.
The whole function might look like:
public function index(){$var = Model::all();return view(‘pages.index’)->with(‘episodes’, $episodes);}
In Index.blade.php
You can either choose to loop through column data and display them or just get the first data.
Example
@section(‘content’)<div>{{$variable->title}}</div>
The double curly braces are important when it comes to fetching data and then call the variable we created in our controller that is linked to our Model. Remember once again that the Model is linked to our migration which contains table data. After calling the variable use ‘->’ and call the column name in your table.
Looping
@if(count($var) > 0) @foreach($var as $vars) <h3 class=”card-title”> {{$vars->name}} </h3> @endforeach @else<p>Custom Error Message if database is empty</p>@endif
Retrieving Data with Conditions
Laravel allows you to retrieve data like you would do using SQL and what’s even cooler you can use SQL.
Let’s say i wanted to receive data from my table by the column of title in ascending order. I would use this
$episodes = Episode::orderBy(‘title’, ‘asc’)->get();This looks very similar to the SQL method.
To use SQL
Add this line to the top of your controller
use DB;Then you can write SQL functions like
$var = DB::select(‘SELECT * FROM dbname’);PAGINATION
In the index function in your Controller instead of get, use paginate->(5). This mostly used when you’re looping, so in you’re index.blade.php after the foreach statement add this then add pagination link after foreach, add
{{$vars->links()}}The number tells the database how much data to send per page
Using BootStrap
For me however, my pagination buttons come out broken almost always so a way around this is to use simplePaginate->() in your controller.
This is getting extremely lengthy, so I would make a part two where i would talk about modifying table columns in Laravel.
If you have any questions or constructive feedback please do let me know